 Help Center
Back to Stories
Custom Wine Labels Using the New PageMaker!
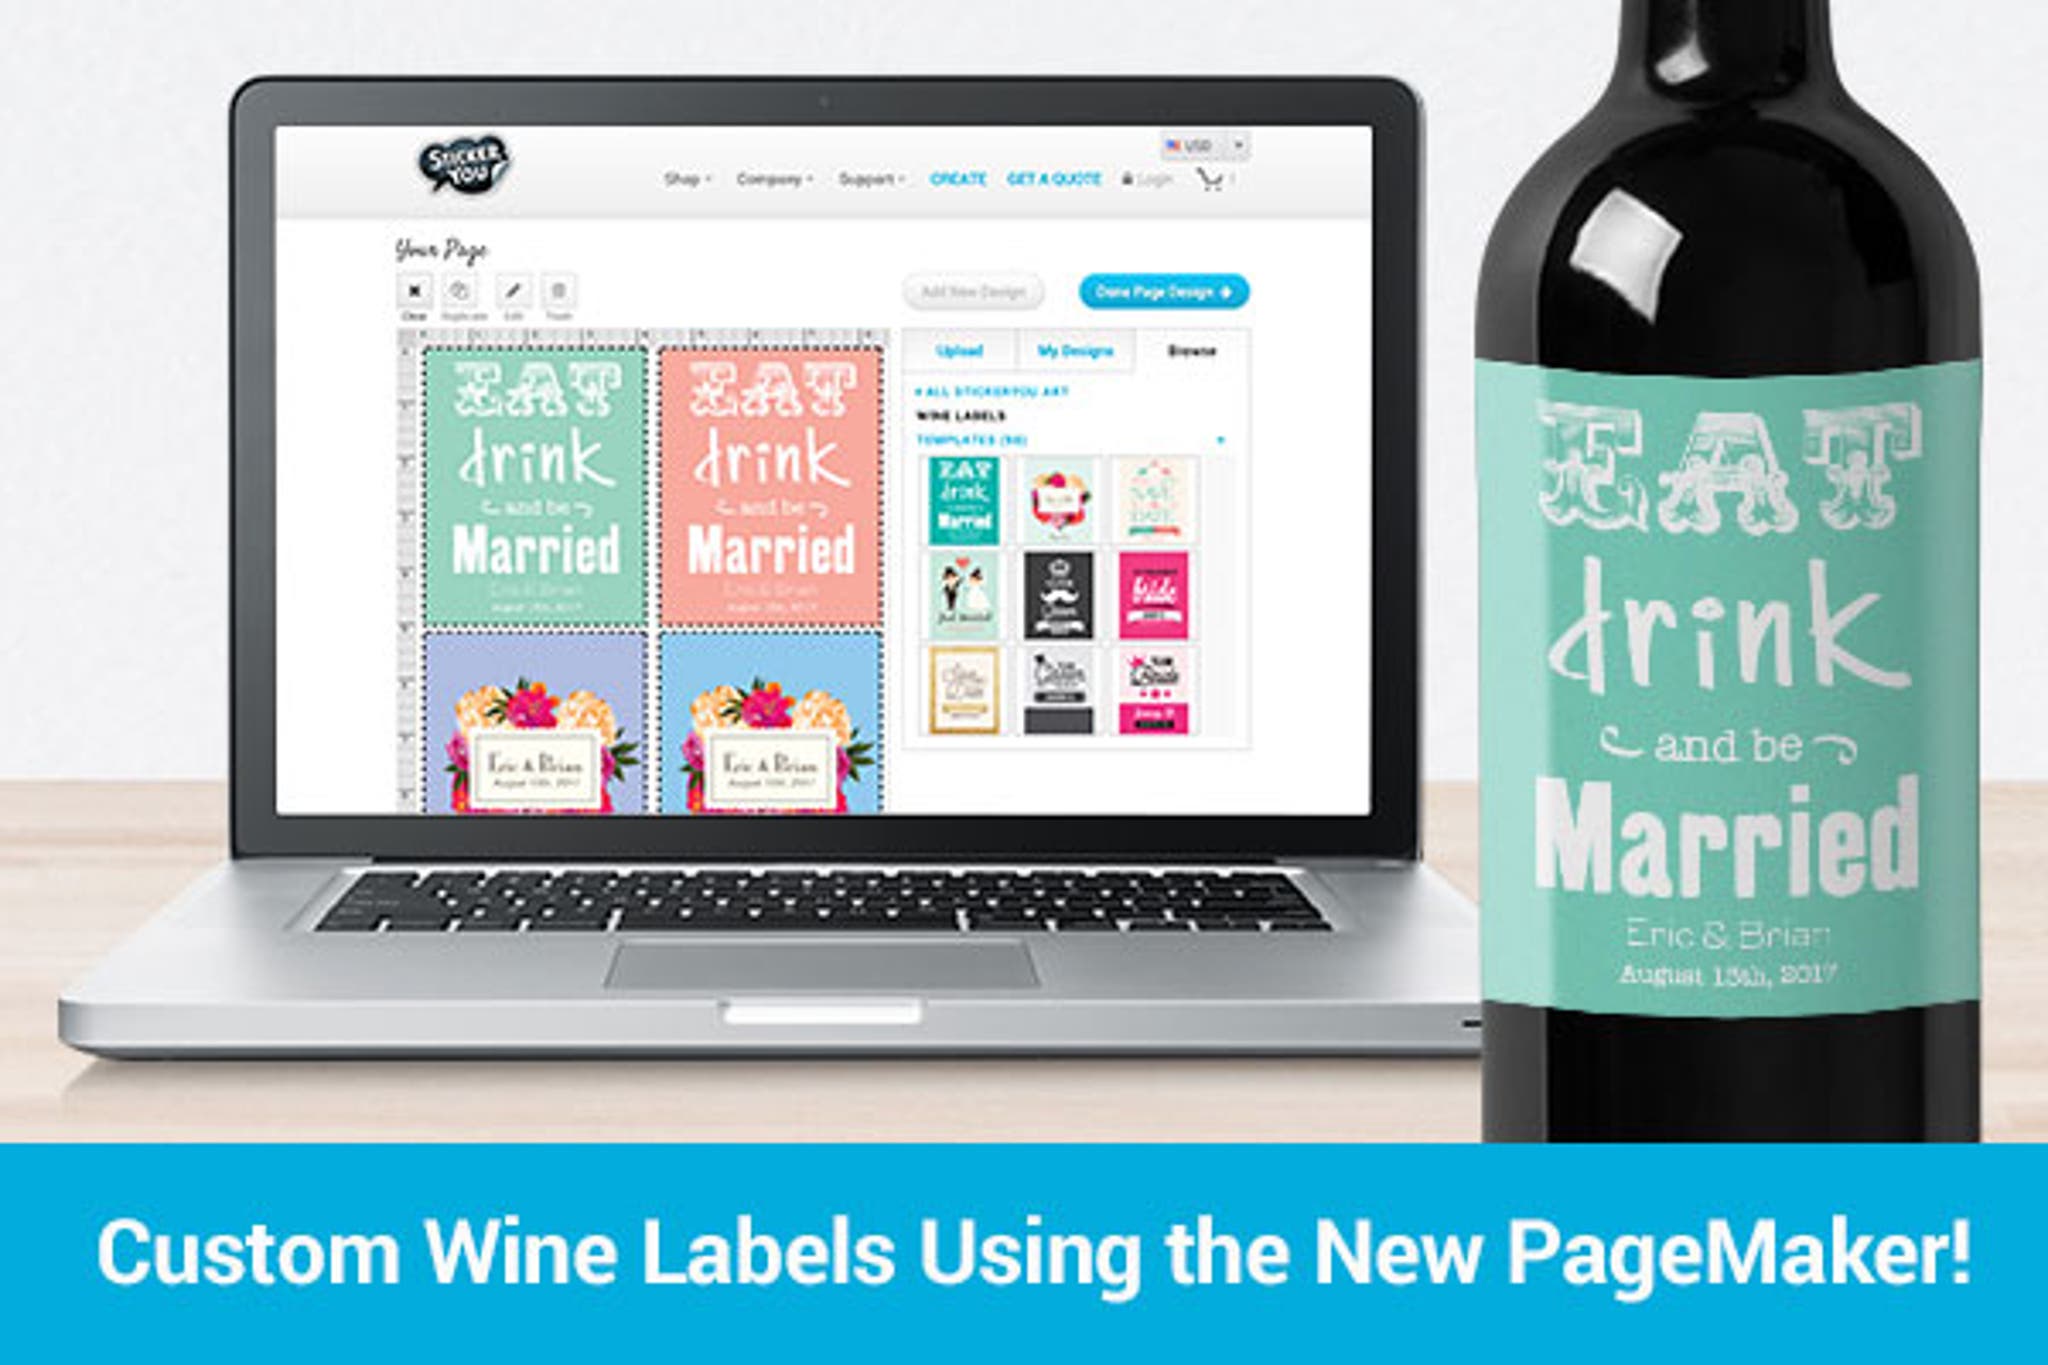
Our team has recently launched our upgraded PageMaker Tool! Not only is it easier to use and much faster, but we now offer the ability to create wine labels that have multiple designs per page! This brings customization to a whole new level, and allows you to personalize each individual label. Whether you’re creating individual named wines for your bridesmaids, or simply creating labels for your homegrown business, our PageMaker is a breeze to access and order online!
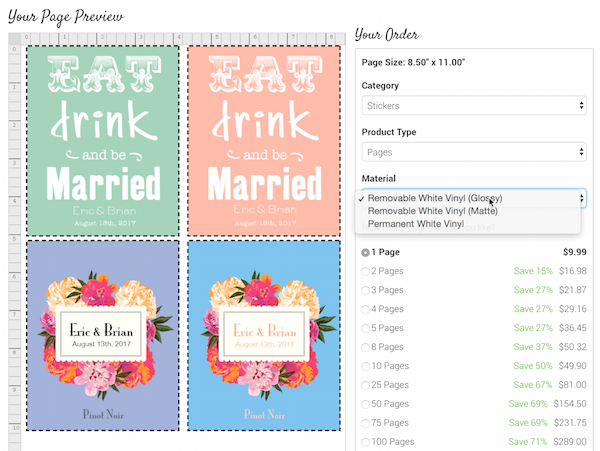
Using the PageMaker to create wine labels is simple! Just follow these steps:
1. Start off at StickerYou.com. Click on Shop > Labels > Food & Drink Labels > Wine Labels, then click on the large blue button to start creating your wine labels.
2. Select your desired size, and then choose your template. On the pop-up, select “more than one design per page”.
3. You can select your current design, and click “duplicate” to keep using it, or, you can drag and drop different templates from the “Browse” tab. If you want to delete any designs, select them and click the “Trash” button.
4. Personalize your labels by selecting them and clicking the “Edit” button. In this tool you can change the names, dates, and (on some templates) the background color using the tools provided.
5. When you are happy with your design, click the “Done Editing button”. Once you edit all of your labels, click the “Done Page Design” button to select your material and quantity.
6. Follow the checkout steps to complete your order – we’ll deliver your wine labels right to your door!
If you need additional assistance, check out this video tutorial!
Get other great ideas, inspiration, and sweet deals delivered right to your inbox by signing up for our newsletter here.
For even more business branding, and life hack ideas, check us out on Facebook, Twitter, Instagram, Pinterest, Google+, and YouTube.
Using the PageMaker to create wine labels is simple! Just follow these steps:
1. Start off at StickerYou.com. Click on Shop > Labels > Food & Drink Labels > Wine Labels, then click on the large blue button to start creating your wine labels.
2. Select your desired size, and then choose your template. On the pop-up, select “more than one design per page”.
3. You can select your current design, and click “duplicate” to keep using it, or, you can drag and drop different templates from the “Browse” tab. If you want to delete any designs, select them and click the “Trash” button.
4. Personalize your labels by selecting them and clicking the “Edit” button. In this tool you can change the names, dates, and (on some templates) the background color using the tools provided.
5. When you are happy with your design, click the “Done Editing button”. Once you edit all of your labels, click the “Done Page Design” button to select your material and quantity.
6. Follow the checkout steps to complete your order – we’ll deliver your wine labels right to your door!
If you need additional assistance, check out this video tutorial!
Get other great ideas, inspiration, and sweet deals delivered right to your inbox by signing up for our newsletter here.
For even more business branding, and life hack ideas, check us out on Facebook, Twitter, Instagram, Pinterest, Google+, and YouTube.